Want to grow gorgeous lotus flowers? This guide shows you how, whether you’re a complete beginner or a seasoned gardener. We’ll walk you through everything from getting the seeds started to harvesting those amazing seed pods. We’ll cover different types of lotuses, the best ways to grow them, and how to avoid common problems. Even if you just want a few pretty flowers in your pond, or you’re dreaming of a big commercial operation, this guide will give you the knowledge and confidence to succeed. Let’s get growing!
Lotus Flower Seed Pods: From Tiny Seed to Stunning Bloom
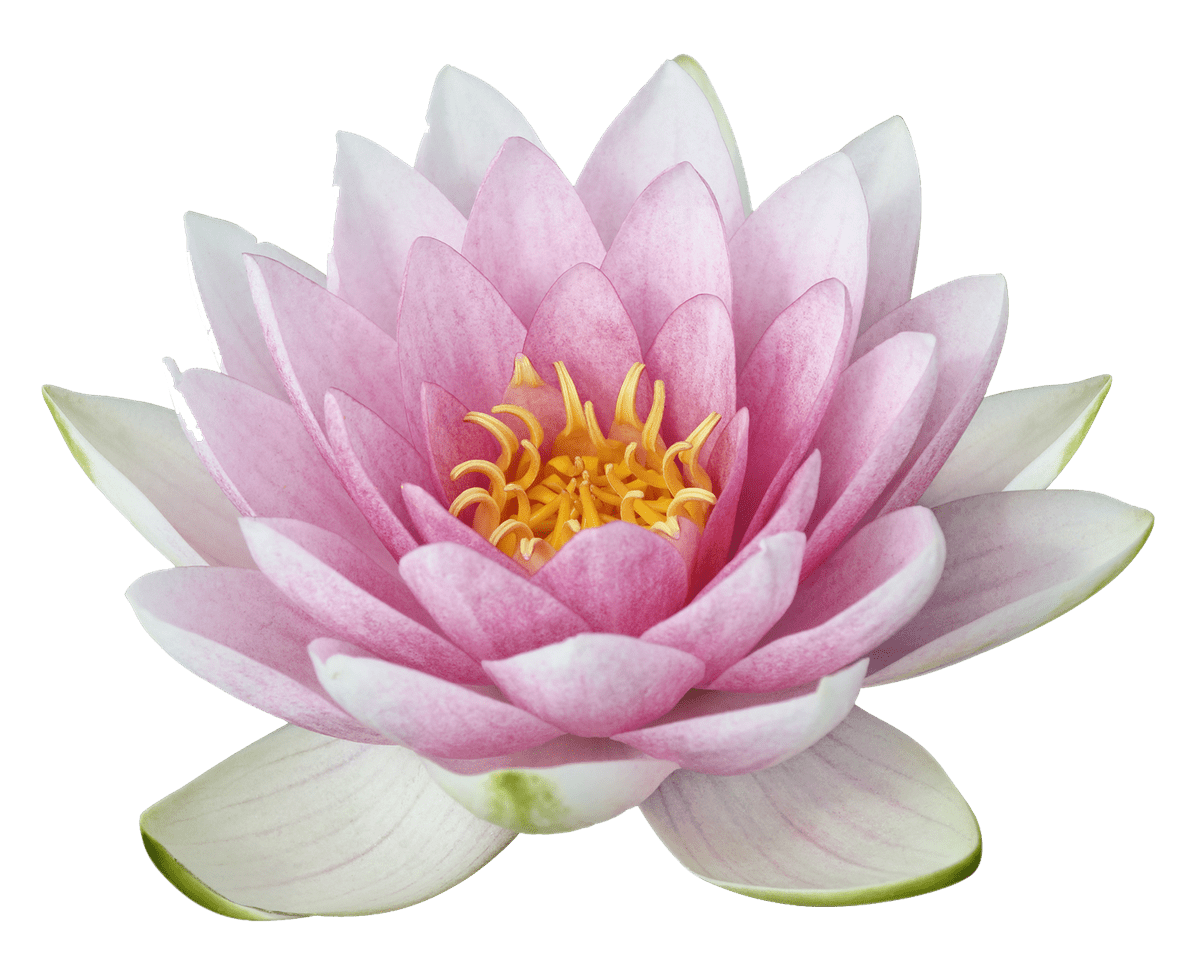
Growing lotus flower seed pods is an amazing journey, a blend of science and careful nurturing that offers a unique reward. It’s not a race, it’s a marathon—one that rewards you with breathtaking beauty. Let’s embark on this adventure together, exploring the secrets to cultivating these aquatic gems and achieving vibrant blooms!
Getting Started: Preparing Your Lotus Seeds for Germination
First things first: you need some healthy lotus seeds! Shop around for high-quality seeds from reputable sellers—you want plump, firm seeds that look like they’re ready for action. Avoid any that look shriveled or damaged. Consider researching online reviews or asking local gardening experts for recommendations on reliable suppliers. Seek out cultivars known for disease resistance and prolific flowering.
These seeds are ancient, having possibly been dormant for quite some time. Think of them as tiny time capsules, waiting for their moment to shine. To awaken them, we’ll need to do a little “wake-up call” called scarification (weakening the seed coat to help germination). This mimics the natural processes that would crack the hard seed coat in the wild.
Scarification: Waking Up Sleeping Seeds
- The Gentle Nick: Using a fine-grit sandpaper or a nail file, very carefully create a tiny nick or scratch on one end of the seed. The goal is to expose the cream-colored layer beneath the hard outer shell. Be patient and avoid applying too much pressure.
- The Soaking Ritual: Place your nicked seeds in a bowl of warm, distilled water—around 80°F (27°C) is ideal. Distilled water minimizes the risk of introducing harmful bacteria or fungi. Change the water every day to keep it fresh and clean. This helps to soften the seed coat and kickstarts the germination process. Depending on the seed’s age and how long it’s been sleeping, you might see tiny sprouts peek out in a few days, or it could take several weeks. Be patient! Monitor water temperature with a thermometer for optimal results.
Setting the Stage: Creating the Perfect Lotus Home: Sunlight and Soil
Lotuses love the sun! Picture them basking in the warmth, soaking up those rays. They need at least six hours of direct sunlight daily. South-facing locations are often ideal, maximizing sun exposure throughout the day. Consider using reflective materials around your containers to further enhance sunlight exposure.
What You’ll Need:
- Home Sweet Home (Containers): Lotuses need room to grow! Use large, non-draining containers – think tubs, half-barrels, or even a small, lined pond if you have one. Dark-colored containers can help warm the water more quickly. Consider using containers made from recycled materials to reduce your environmental impact.
- The Perfect Soil Mix: Lotuses prefer a soil mix that’s rich and well-draining but also heavy enough to anchor the plant. A blend of loam, clay, and well-rotted compost, slightly acidic to neutral (pH 6.0-7.0), works wonderfully. Test your soil pH with a kit to ensure optimal conditions. Amend with sulfur to lower pH or lime to raise it if needed.
- Water, Water Everywhere: Lotuses are aquatic plants, so you’ll need to keep the water level consistent. As your lotus grows, you might need to increase the water depth. Start with shallow, still water, and gradually increase the depth as needed. Use dechlorinated water to avoid harming the young plants. Consider adding a small fountain to aerate the water and prevent stagnation.
Planting and Nurturing Your Lotus: Planting Seedlings and Disease Prevention
Once your seeds have sprouted and developed a little root (about 1-2 inches long), it’s time for planting! This is a critical step that directly impacts the plant’s future growth and vitality.
- Planting the Sprouts: Gently place your sprouting seeds in their new homes (containers). Create a small depression in the soil and carefully position the sprout horizontally with the root facing downwards. Cover the sprout with about an inch of soil. Avoid overcrowding the container; give each sprout ample space to grow.
- Water Wisely: Gently add water to cover the soil, being careful not to disturb the newly planted sprouts. Gradually increase the water level as the plants grow, ensuring the leaves always have access to air. Avoid using a strong jet of water, which can damage the delicate sprouts. Rainwater is ideal, if available, as it is free of chemicals.
- A Little Mulch Magic (Optional): You can add a thin layer of pea gravel or small rocks on top of the soil. This helps maintain soil moisture, prevents the soil from clouding the water, and keeps the roots cool. Avoid using organic mulches, which can decompose and foul the water.
- Disease Watch: Keep a close eye out for any signs of fungal disease (like leaf spots or discoloration on the leaves). Remove any affected leaves immediately. If you spot any persistent problems, consider using an eco-friendly fungicide specifically formulated for aquatic plants. Always follow the instructions on the product label carefully. Consider introducing beneficial bacteria to your water to help suppress fungal growth.
The Lotus Life Cycle: Growth, Challenges, and Rewards
Germination time varies greatly. Some seeds sprout in a matter of days, while others can take several weeks. Patience, my friend, is a virtue when it comes to growing lotuses! Once established, your lotuses will reward you with stunning blooms and, eventually, those beautiful seed pods. Expect the first flowers to appear in the second year of growth, provided the plant receives adequate sunlight and nutrients.
Potential Challenges:
Just like any living thing, lotuses are prone to pests and diseases. Aphids, spider mites, and lotus leaf rollers can sometimes be a problem. Regularly inspect the leaves for signs of infestation and treat accordingly with insecticidal soap or neem oil. Also, be aware of local regulations regarding planting lotus; some varieties can be invasive, potentially harming the local ecosystem. Research your local regulations and choose non-invasive cultivars.
Harvesting Your Treasure: The Lotus Seed Pods
Once your beautiful lotus flowers fade, the seed pods begin their transformation. The pod will gradually turn brown and dry, indicating it’s ready for harvesting, typically in late summer or early fall. Cut the pod from the stem using a sharp knife or pruning shears. Handle the pods carefully to avoid damaging the seeds.
Storing Your Seeds: Proper storage is vital to preserve the seeds’ viability. Allow the harvested pods to dry completely in a cool, dry, well-ventilated place before extracting the seeds. Store the dried seeds in an airtight container in a cool, dark location. Label the container with the date of harvest. Properly stored seeds can remain viable for many years.
The Ongoing Journey of Lotus Cultivation
The information shared here represents current understanding. Research into lotus cultivation is ongoing, and new techniques and insights might emerge. Joining a local gardening club or online forum dedicated to aquatic plants is a great way to stay updated and connect with other enthusiasts. Consider experimenting with different cultivars and growing techniques to find what works best for you.
How to Commercially Scale Lotus Cultivation While Minimizing Invasive Species Risk
Key Takeaways:
- Lotus cultivation offers substantial economic and ecological benefits, but scaling requires careful planning.
- Choosing the right lotus species and implementing containment strategies are critical for minimizing invasive risk.
- Successful large-scale cultivation integrates traditional knowledge with modern agricultural techniques, enhancing efficiency.
- Post-harvest techniques need improvement to maximize yield and minimize waste, improving profitability.
- Regulatory compliance and collaboration with relevant agencies are crucial for sustainable growth, ensuring legality and responsibility.
Site Selection and Species Choice: The Foundation of Success
Choosing the right location and lotus variety is paramount. Consider your region’s climate, soil conditions, and water availability. The American lotus (Nelumbo lutea) is generally less invasive than the Sacred lotus (Nelumbo nucifera), making it a safer bet for commercial cultivation. Implement physical barriers, such as lined ponds or constructed wetlands, to prevent the spread of lotus plants beyond the designated cultivation area. Obtain all necessary permits and licenses before beginning commercial cultivation.
Propagation Techniques: From Seed to Scale
Several methods exist for propagating lotus, each with its own advantages and disadvantages. Seed propagation is cost-effective but may result in genetic variation. Tuber division allows for faster propagation of true-to-type plants. Tissue culture offers the potential for mass production of disease-free plants but requires specialized equipment and expertise. Select the propagation method that best aligns with your production goals and resources.
Optimizing Growing Conditions: Nurturing Your Crop with Ideal pH Levels
Factors like water depth, soil pH (acidity or alkalinity), nutrient levels, and sunlight exposure significantly influence lotus yield and quality. Maintain consistent water levels to prevent stress on the plants. Monitor soil pH regularly and adjust as needed to maintain a slightly acidic to neutral range (pH 6.0-7.0). Supplement with slow-release aquatic fertilizers

- Xbox Series S Crashing? Heres How to Fix It - March 30, 2026
- Xbox Crashing? Heres How to Fix Your Console - March 29, 2026
- Why Do My Xbox Games Keep Crashing? Unpacking the Reasons - March 28, 2026