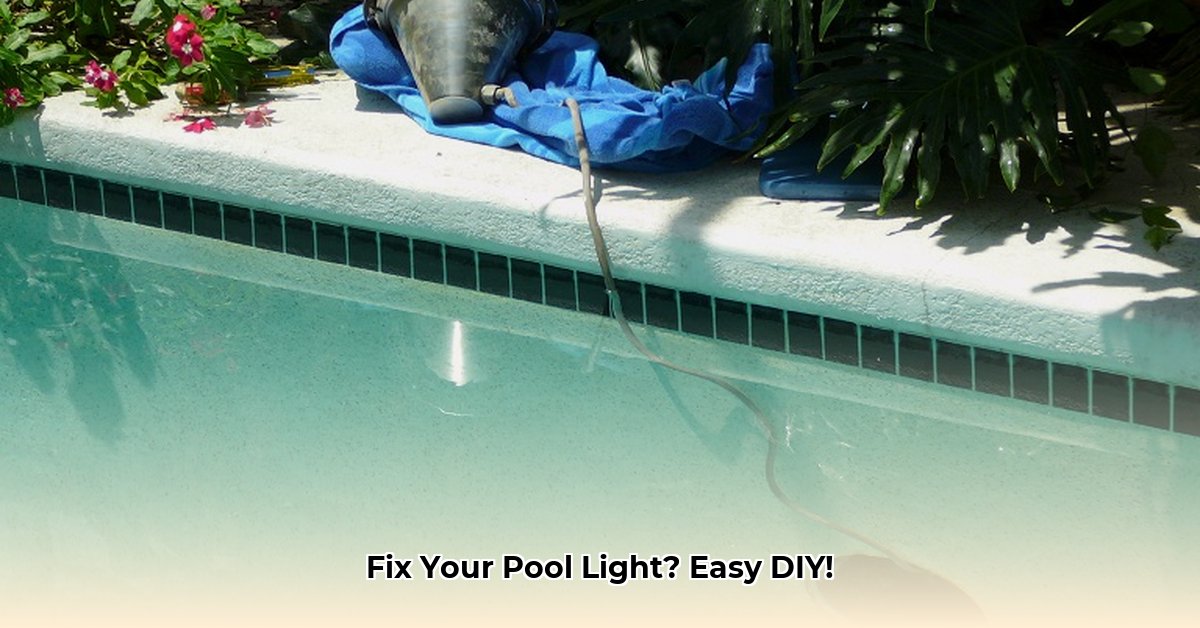
Transforming your pool into a nighttime oasis is easier than you think. This comprehensive guide provides a step-by-step approach to replacing your pool light, empowering you to illuminate your pool safely and efficiently. Whether you’re a seasoned DIYer or a beginner, this guide will equip you with the knowledge and confidence to tackle this project.
Prioritizing Safety and Preparation: Your First Steps to Success
Before diving in, safety is paramount. Turn off the power to the pool light at the breaker box. Double-check with a non-contact voltage tester to confirm the absence of electricity flowing to the fixture. This crucial step prevents electrical hazards. Assemble your essential tools: a Phillips head and flathead screwdriver, a replacement LED bulb (recommended for energy efficiency and extended lifespan), a new gasket compatible with your fixture, safety glasses, rubber gloves, and a multimeter to test for stray currents. Having everything at your fingertips streamlines the process.
A Step-by-Step Guide to Replacing Your Pool Light
1. Accessing the Light Fixture: Unveiling the Heart of the Matter
Depending on your pool’s design, the access point to the light fixture might be behind a niche cover, typically secured by screws. Carefully remove this cover, consulting your pool’s manual for specific instructions if needed. Some older pools utilize a wedge system to secure the fixture; take note of its positioning for seamless reinstallation.
2. Disconnecting the Wiring: Navigating the Electrical Landscape
Once the fixture is exposed, gently disconnect the wires from the old light. Use a multimeter to ensure no current runs through the wires, even with the breaker off, as a faulty wire could still pose a risk. Document the existing connections by taking clear photos or using labeled wire nuts. This meticulous approach simplifies reassembly with the new light.
3. Removing the Old Bulb and Gasket: Out with the Old
With the wiring safely disconnected, unscrew the old bulb and carefully remove the gasket. Inspect both components for wear and tear, such as cracks, brittleness, or corrosion. These signs often indicate the root cause of light failure and highlight the importance of using a new gasket.
4. Installing the New Gasket and Bulb: Embracing the New
Position the new gasket, ensuring a snug and watertight seal against the fixture’s lens. This prevents leaks and protects the bulb. Securely screw in the new LED bulb, handling it with a clean cloth or paper towel to avoid transferring oils that can shorten its lifespan.
5. Reconnecting the Wiring: Re-establishing the Connection
Referencing your photos or labeled wire nuts, carefully reconnect the wires to the new light, matching the colors precisely. Secure all connections with wire nuts, ensuring a tight fit to prevent electrical issues. This meticulous approach minimizes the risk of shorts and ensures proper function.
6. Reassembling the Fixture: Putting It All Back Together
Replace the niche cover, ensuring it aligns correctly with the fixture. Secure it with the screws, ensuring a watertight seal to prevent water intrusion. For added protection against leaks, apply a thin bead of pool putty around the edge of the cover before securing it. This extra step provides an additional barrier against water damage.
7. Restoring Power and Testing: The Moment of Truth
With the fixture securely reassembled, return to the breaker box and turn the power back on. Flip the pool light switch to test the new bulb. If it illuminates brightly, you’ve successfully completed the replacement! If the light doesn’t function, double-check the connections, bulb compatibility, and breaker status. If the issue persists, contact a qualified pool service technician for further assistance.
Troubleshooting: Addressing Common Challenges
Even with careful execution, occasional hiccups can occur. Here’s a troubleshooting guide to address potential problems:
-
Breaker Status: Verify the breaker is switched on. Sometimes, a simple oversight can be the culprit.
-
Wiring Integrity: Employ a voltage tester to confirm power reaches the fixture. This helps pinpoint any wiring issues between the breaker box and the light.
-
Connection Security: Inspect all wire connections at the fixture and the junction box for tightness and proper color matching. Loose connections can prevent the light from functioning.
-
Bulb Compatibility: Confirm the new LED bulb’s voltage and wattage align with your fixture’s requirements. Using an incompatible bulb can prevent it from working or even damage the fixture.
-
GFCI Outlet: If your pool light connects to a GFCI outlet, ensure it hasn’t tripped. Reset it if needed, as this safety feature can interrupt power if it detects a ground fault.
If these troubleshooting steps prove unsuccessful, contact a licensed electrician specializing in pool lighting for professional assistance.
Maintaining Your Pool Light: Ensuring Long-Term Brilliance
Regular maintenance is key to preventing future problems and maximizing your pool light’s lifespan:
-
Monthly Inspections: During swimming season, inspect the light fixture, wiring, and niche for cracks, corrosion, or leaks. Addressing these issues promptly prevents further damage and ensures safe operation.
-
Gasket Replacement: Replace the gasket every two to three years, even if it appears intact. This preventative measure maintains a watertight seal and prevents leaks.
-
Lens Cleaning: Periodically clean the lens with a soft cloth and a non-abrasive cleaner to remove dirt, algae, and mineral deposits. This simple step maintains optimal light output and enhances the visual appeal of your pool.
By following this comprehensive guide and incorporating regular maintenance practices, you can enjoy years of worry-free illumination and create a captivating nighttime ambiance in your pool.

- Why Does My Xbox Games Keep Crashing Common Issues Explained - April 1, 2026
- How to Fix Your Xbox Series X Freezes and Crashing Issues - March 31, 2026
- Xbox Series S Crashing? Heres How to Fix It - March 30, 2026