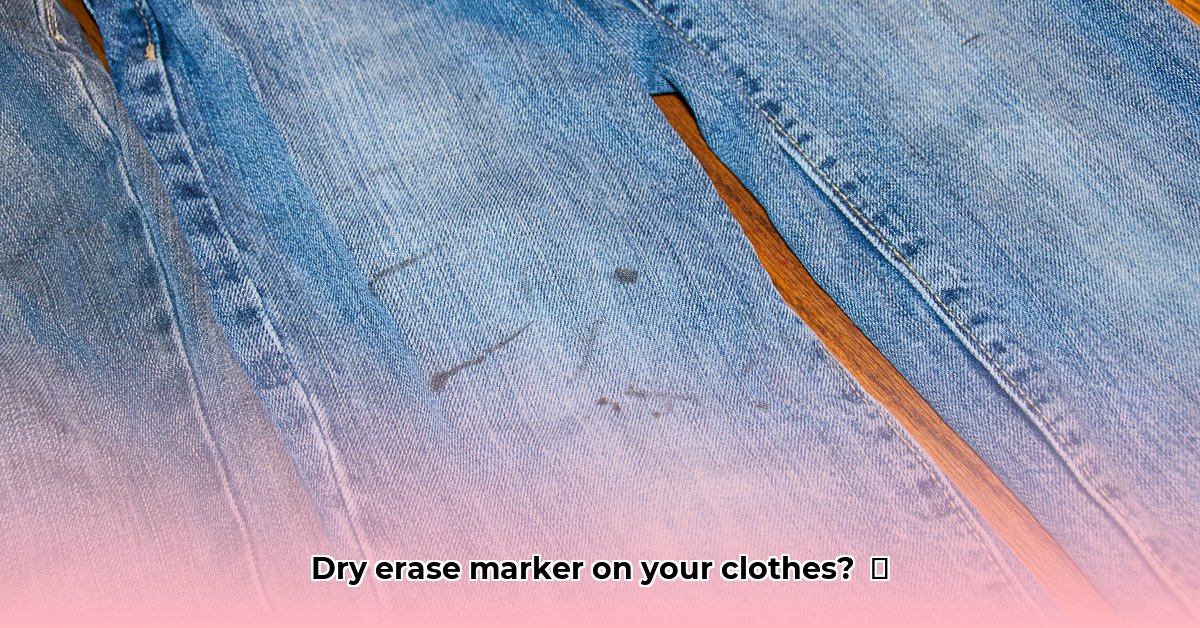
Decoding the Dry Erase Dilemma
Dry erase markers are a staple in homes, offices, and classrooms, but their convenience can quickly turn into a cleaning crisis when they accidentally mark clothing. This guide provides proven solutions to erase those unwanted streaks and restore your garments, addressing both fresh and set-in stains on various fabrics. Understanding the nature of dry erase ink is the first step to successful stain removal. Most dry erase markers utilize alcohol-based inks, which require targeted cleaning methods that go beyond ordinary soap and water. For other stubborn stains, like water marks, check out this helpful guide on water stain removal.
Effective Stain Removal Arsenal
Here’s a breakdown of proven methods, each tailored to different stain severities and fabric types:
-
Isopropyl Alcohol (Rubbing Alcohol): This readily available household item is a powerhouse against dry erase ink. Its alcohol content effectively dissolves the ink, lifting the stain from the fabric. Apply rubbing alcohol to a clean cloth or cotton ball and gently blot the stain, working from the outside in. Repeat until the stain disappears. Always test on an inconspicuous area first, as rubbing alcohol can affect certain dyes. For stubborn stains, a brief soak in diluted rubbing alcohol may be necessary.
-
Murphy’s Oil Soap: This gentle yet effective cleaner is surprising adept at removing dry erase marker. Its unique formulation tackles the oily component of the ink, breaking it down without harsh chemicals. Apply a small amount of Murphy’s Oil Soap directly to the stain. Gently work it into the fabric with a soft brush or cloth. Let it sit for 10-15 minutes before rinsing thoroughly. Always test in a hidden area first to ensure compatibility with your fabric.
-
Vinegar and Lemon Juice: The Natural Approach: For delicate fabrics or those sensitive to stronger cleaning agents, vinegar or lemon juice offer a gentler alternative. Their natural acidity helps break down the ink, albeit more slowly than alcohol-based solutions. Create a solution of equal parts water and white vinegar or lemon juice. Apply it to the stain and let it sit for 30 minutes. Rinse thoroughly with cold water. Repeat if necessary.
-
Commercial Stain Removers: A variety of commercial stain removers are formulated to tackle specific ink types, including dry erase marker. These can be effective, but always adhere to the product instructions carefully. Test on a hidden area first to ensure colorfastness and avoid potential fabric damage. Consider eco-friendly options for a more sustainable approach.
-
Hand Sanitizer: In a pinch, alcohol-based hand sanitizer can serve as a substitute for rubbing alcohol. Apply a small amount to the stain and blot gently. Rinse thoroughly after the stain is lifted.
-
Hydrogen Peroxide (for Whites Only): On white fabrics, hydrogen peroxide can be a powerful stain remover. Apply a small amount directly to the stain and let it fizz for a few minutes. Rinse thoroughly with cold water. Avoid using hydrogen peroxide on colored fabrics, as it can bleach them.
Method Selection Guide: Fabric & Stain Considerations
| Method | Effectiveness | Best For | Pros | Cons |
|---|---|---|---|---|
| Rubbing Alcohol | High | Most fabrics | Fast-acting, widely available | May fade some colors, strong odor |
| Murphy’s Oil Soap | Moderate to High | Most fabrics (test first) | Effective on stubborn stains, gentle | Can leave residue if not rinsed well |
| Vinegar/Lemon Juice | Moderate | Delicates, most fabrics | Gentle, natural, readily available | Slower acting |
| Commercial Stain Removers | Varies | Varies | Targeted formulations | Can be pricey, may contain harsh chemicals |
| Hand Sanitizer | Moderate | Most fabrics (test first) | Convenient, portable | Less effective on set-in stains |
| Hydrogen Peroxide | High | White fabrics only | Powerful stain removal | Bleaches colored fabrics, not for delicates |
Stain Removal Action Plan: A Step-by-Step Guide
- Immediate Action: Time is of the essence! Fresh stains are significantly easier to remove.
- Preparation: Place a clean towel or paper towels underneath the stained area to absorb the ink as you work. This prevents the stain from spreading to other parts of the garment.
- Blot, Don’t Rub: Gently blot the stain with a clean cloth or cotton ball, working from the outside in. Rubbing can spread the ink and damage the fabric fibers.
- Method Application: Apply your chosen cleaning method according to the instructions above. Be patient and persistent, especially with stubborn stains.
- Rinse & Repeat: Rinse the treated area thoroughly with cold water. Repeat the process if the stain persists.
- Laundering: Once the stain is gone or significantly faded, launder the garment as usual according to its care label. Air drying is recommended until you’re confident the stain is completely removed. Heat from a dryer can set remaining traces of the stain.
Stain Prevention Strategies
Prevention is always preferable to cure. Here are some tips to minimize the risk of dry erase marker mishaps:
- Secure Storage: Store dry erase markers in a designated location, out of reach of children and away from clothing.
- Protective Covers: Ensure markers are capped securely when not in use.
- Supervise Use: Supervise children and others who may be using dry erase markers.
- Prompt Cleaning: Address any accidental marks immediately to prevent them from setting.
By understanding the nature of dry erase marker stains and employing the appropriate cleaning methods, you can effectively banish those unwanted marks and keep your clothes looking their best.

- Why Do My Xbox Games Keep Crashing? Unpacking the Reasons - March 28, 2026
- Xbox Series X Games Crash? Try These Proven Fixes - March 27, 2026
- Xbox Is Frozen Troubleshooting Tips for an Unresponsive Console - March 26, 2026